
Installing Oracle Database can be a daunting task, but with the right approach, it can be a smooth and straightforward process. In this blog post, we'll walk you through the steps required to install Oracle Database on your machine.
Installing Oracle Database can be a daunting task, but with the right approach, it can be a smooth and straightforward process. In this blog post, we'll walk you through the steps required to install Oracle Database on your machine.
Before you begin, make sure you have the necessary hardware and software requirements for the version of Oracle Database you want to install. You can find this information on the Oracle website.
Step 1: Download Oracle Database Software
The first step is to download the Oracle Database software from the Oracle website. You will need to create an account and accept the license agreement before downloading the software.
Step 2: Extract the Installation Files
Once you have downloaded the Oracle Database software, extract the files to a directory on your machine.
Step 3: Run the Installer
Navigate to the directory where you extracted the installation files and run the installer. You will be prompted to select the type of installation you want to perform, such as a single instance database installation or a cluster database installation.
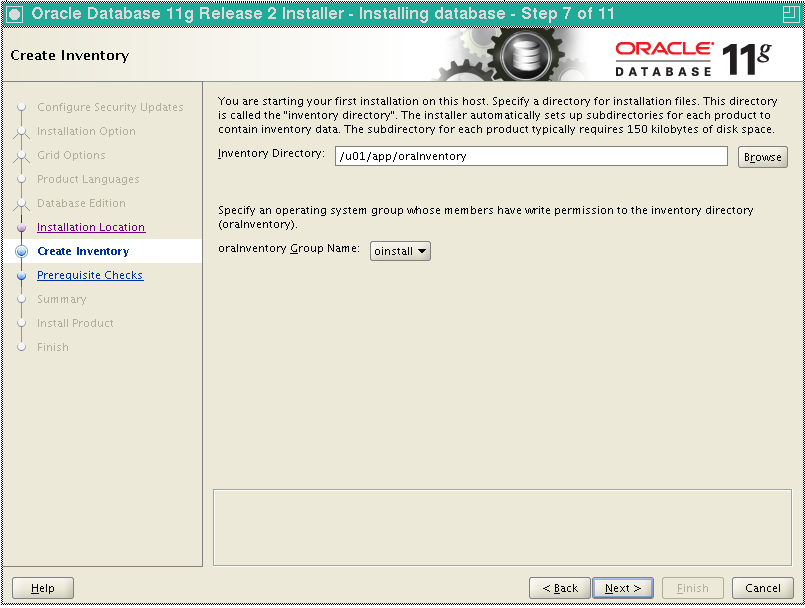
Step 4: Specify Installation Options
Next, you will need to specify the installation options, such as the Oracle home directory, the Oracle base directory, and the database name. You will also need to specify the administrative credentials for the database.
Step 5: Review and Install
After you have specified the installation options, review the settings and click the Install button to begin the installation process. The installation may take some time, depending on your system's hardware and the installation options you have selected.
Step 6: Run the Database Configuration Assistant
Once the installation is complete, you will need to run the Database Configuration Assistant (DBCA) to create a new database instance. The DBCA will guide you through the process of creating a new database instance and configuring the necessary settings.
Step 7: Start the Database
After you have created a new database instance, you can start the database by using the SQL*Plus command-line tool or by using the Enterprise Manager Console.
Congratulations, you have successfully installed Oracle Database on your machine! Now you can start exploring the features and capabilities of Oracle Database and begin developing applications that use Oracle Database as the backend.